a] Set up for the sample exercise experiment
b] Addition of graphing output to the experiment.
How To Save & Retrieve Experiments
Note:
The document below illustrates how to save an experiment and how to retrieve a saved experiment.
It does so
by first running a classic moderate exercise experiment and then illustrating the steps involved in saving and retrieving that experimental run.
This example assumes you already know how to login and have registered for a user name. It also assumes moderate familiarity with running a HUMAN experiment
I. Creating an experiment to Save
1) We set up an experiment to be saved by reproducing the familiar moderate exercise experiment from the Introductory tutorial [opening HUMAN page- How To - introductory tutorial ]. The setup and results are presented below in condensed format (if you need more detail, review the How To- tutorial)
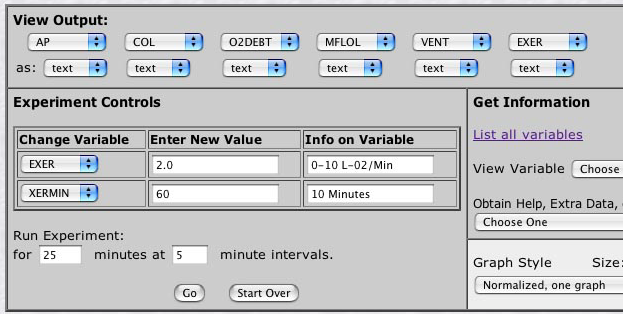
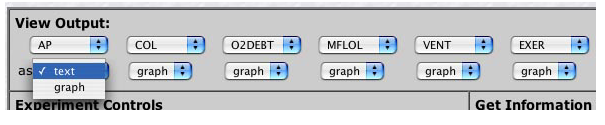
a] Set up for the sample exercise experiment
b] Addition of graphing output to the experiment.
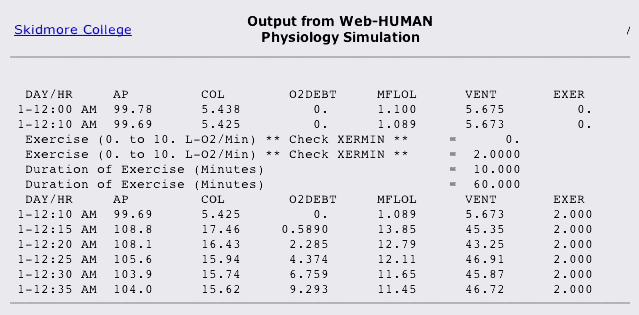
c] Output from Web-HUMAN - Upon clicking <Go>, you see the tabular output screen shown below.
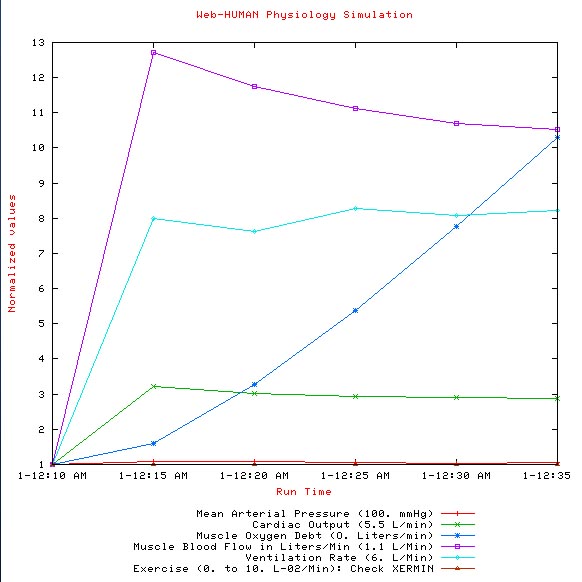
d] Graphic Output from web-HUMAN
II. Saving an experiment
a) Log in to enable saving an experiment
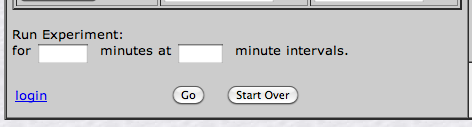
Assuming you have not yet logged in, click on the login option at the bottom left of the screen (below)
This presents users with the usual log in screen (below)
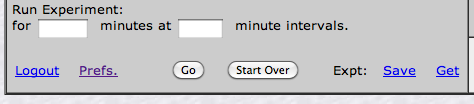
After completing the login, notice that you now have (below, right) two new options, to Save and to retrieve (Get) saved experiments.
b] Saving the experiment
Click on the Save option.
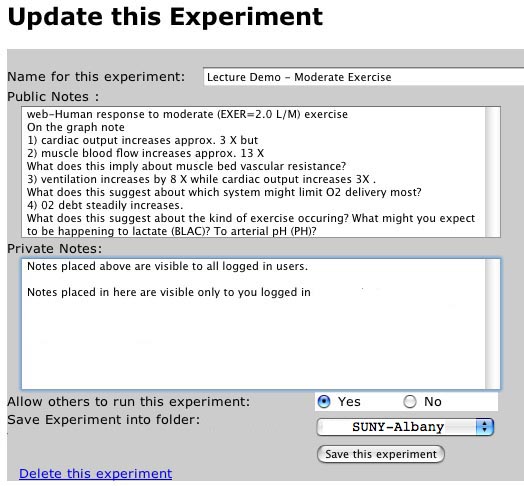
You now see the Save this Experiment screen as below.
It is shown filled in for illustrative purposes.Notice the following elements
• Top - the name that users will see for this experiment.
• Public Notes: here is where I stored questions for my students to consider in a hypothetical assignment.
• Private Notes: Read the box. It is self-explanatory.
• Share the experiment with others: Make certain that Yes remains selected.
• Folder choice: is up to you. Here it is saved to the <SUNY-Albany> folder.
Click on the <Save ...into folder....> drop down menu and pick the location of your choice. (note that you can even create a folder for your own institution or course to save to.). Folder options are described elsewhere*.
* see the next section, Retrieve experiment, below.When satisfied with what you have, click <Save this experiment>. Note that you can edit anything you save now later on if you wish to make changes, correct errors*, etc.. * see the next section, Retrieve experiment, below.
After your Save, click on <Back> if necessary (see below) to return to your current session.
Question: my screen also shows an odd looking set of controls below my Private Notes section. What are these [ link ] ?
III. Retrieving a saved experiment.
a] Gaining access to the experiment
1) You (or your students) can call back this or any other shared experiment.
• To do at the opening screen
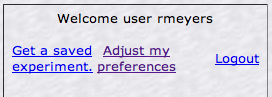
- after login, click on Get a saved experiment (see below)
• To do from the experiment navigator
- after login, click on Get (see below, right )
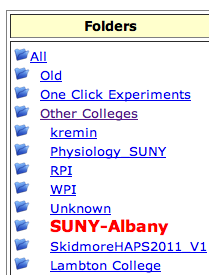
b] Experiments are saved in folders
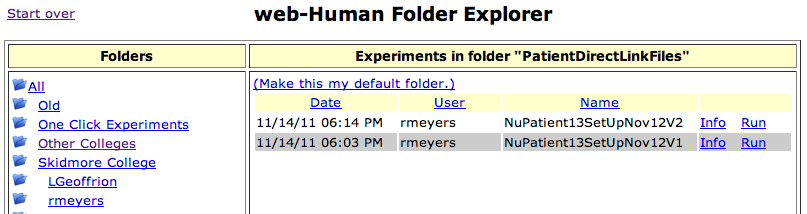
Clicking on Get brings you to the Folder Explorer. (see below)
Experiments in web-HUMAN are saved within folders and the Explorer allows you to navigate to your particular file.Below is a sample of how to retrieve an experiment stored by an instructor at SUNY- Albany.
Note above that• Folders are listed on the left and saved Experiments on the right.
• Note in the Folders column that the fourth folder down is Other Colleges
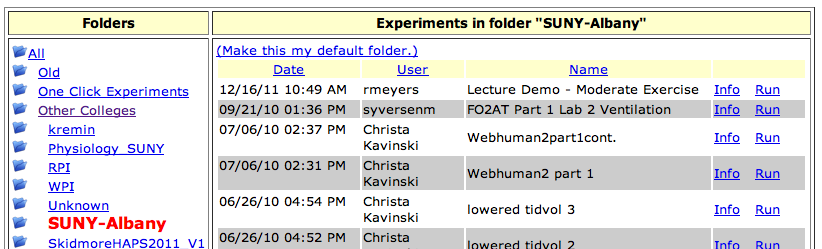
Clicking on Other Colleges selects that folder (red, below, left) [ and reveals its folder contents] one of which is SUNY-Albany.
Clicking on SUNY - Albany selects its folder (red, below, right)
and reveals its contents (see below, right)
Among the files we see our saved Lecture Demo- Moderate Exercise.
c] To view or run a specific experiment
As described below, the Info link (above, last column, left) allows you to view the text associated with the experiment and the Run link (above, last column, right) actually runs that experiment. Scroll to the Experiment (name) Lecture Demo - Moderate Exercise.
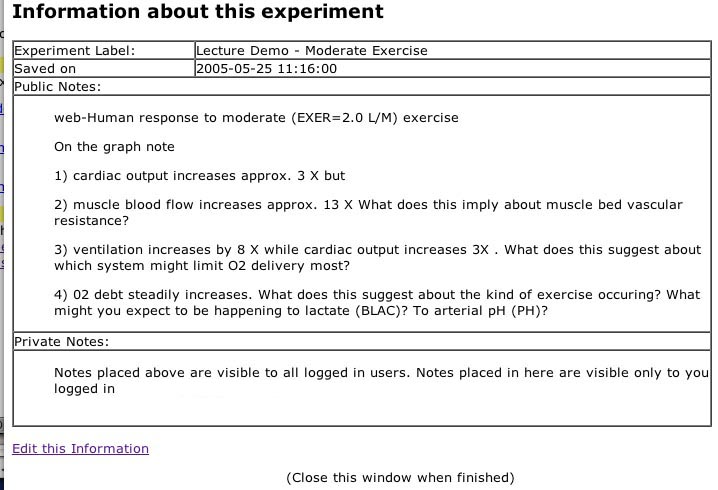
d] Viewing the experiment (click on Info)
You will see something like the screen below. This is what other users, for example your students or fellow students and instructor(s), will see.
[ Recall that only you (as owner) see the Private Notes section and the Edit this Information option ]
e] Editing the experiment write up
Notice that you can update/edit your write-up.
Click on Edit this Information (lower left, above figure). Your will then see the screen below.
Make edit changes in your text as you wish and select Save Experiment.... to effect those changes.
Notice that you could Delete this experiment (bottom, left of above screen) entirely if you so wished.
After Save or Delete, hit <Back> as/if necessary and Close this Window if/as asked.
IV. Running a saved experiment.
After you closed the Update this experiment window you should now see your original screen of choices as, for example, below.
• Last time you used the Info option.
• This time click on Run (this model).
Bang! The entire model you saved runs in a flash, table, graph and all! (and users can continue forwards from this point if they so desire).
Thus, this model is now ready for your use. Some possible uses include lecture demonstration, student simulation assignments, creation of "setups" for your students (or others) and creation of new patients that do not exist in the standard web-HUMAN Patients section.
EXTRA
Question: my screen also shows an odd looking set of controls below my Private Notes section. What are these?If you see the controls as shown below you are looking at an HTML editor that allows you to format your text directly by simply selecting it and then clicking on the desired effect (e.g. boldface, italicize, underline, strike though, left justify, etc.)